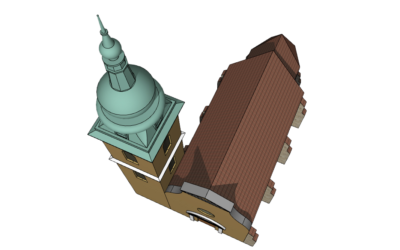
Tutorial VII – Hotlinked Modules
Using hotlinked modules is an option for working with parallel model files while in the meantime integrating them into a joint project file. This soltuion can also be a way for working in a team, though ARCHICAD also provides much more developed options for this. Final tutorial of the Modeling chapter shows the most important features of the Hotlinked Modules and working with mod files. Watch the video with subtitles to be able to fully follow the thinking of the training. The boxes paired with the tutorial shortfilm will help you to quickly overview the key points of the construction process.
Requirements of Joint Project File
It is wise to use the same layer structure and combinations in the module files and in the joint project file that hosts the hotlinked modules. The same way it is highly important to set up a system that helps to keep the same coordinates for the models, for instance a map that provides the same reference for the spatial positions.
Saving and Placing Module Files
The module file can be only saved in floor plan view by selecting the Module File (*.mod) extension during the saving process (Ctrl / Cmd + S). Placing a formerly saved mod file can be achived in the following way: ‘File / External Content / Place Hotlinked Module’. From the ‘Place Module’ panel the required file can be found using the ‘Choose Hotlink’ method.
Updating Modules
If the source mod file has changed and we want to apply these changes in the joint project file, we need to open the Hotlink Manager from ‘File / External Content’. In the Hotlink Manager you will find which module file’s status has changed from ‘OK’ to ‘Modified’. By pressing the ‘Update’ button, the selected mod file will become up-to-date based on the latest save.
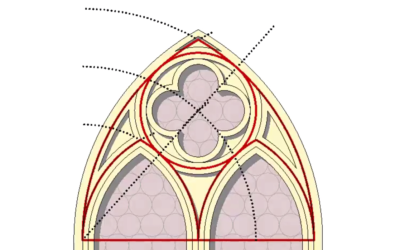
Tutorial I – Gothic Window
Being the starting chapter of the Modeling Tutorial Series this tutorial is about advanced 2D editing using the advantages of special constructing tools like the Guide Lines and Snap Guides. Watch the video with subtitles to be able to fully follow the thinking of...
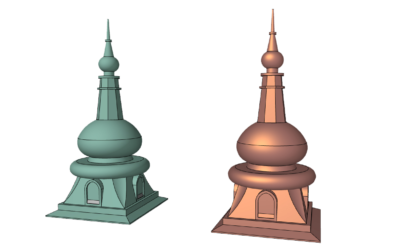
Tutorial II – Baroque Spire
This part of the Modeling Tutorial Series gives an insight to ARCHICAD’s Morph Modeling by combining the different editing methods to build a Baroque Spire in 6 relatively simple steps. Watch the video with subtitles to be able to fully follow the thinking of the...
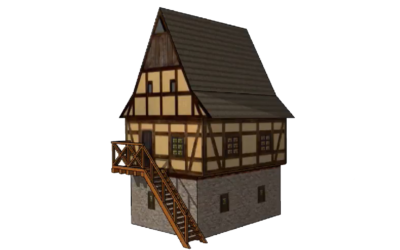
Tutorial III – Textured Houses
Textured Houses tutorial provides the learner with more advanced steps on how to add Morph Surfaces, also repeating some previously used editing methods. The tutorial provides information on how to change already set surfaces and how to make new textures and...
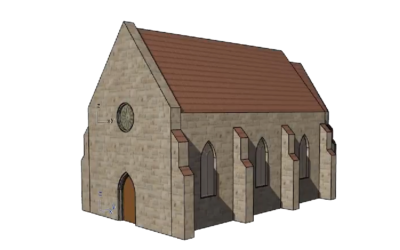
Tutorial IV – Gothic Church
As part of this chapter a new Morph editing option is introduced in details: ‘Solid Element Operations’ is shown as an alternative to Boolean Operations (Tutorial II - Baroque Spire). Watch the video with subtitles to be able to fully follow the thinking of the...
Tutorial V – Baroque Church
This tutorial is the final development of the church as more complex details are added to the already finished tasks explained in former modeling tutorials (Tutorial I - Gothic Window, Tutorial II - Baroque Spire and Tutorial IV - Gothic Church). Main new features...

Tutorial VI – Terrain
The tutorial shows the steps that should be taken in order to build a terrain from the base lines of a topographic map. With the help of the Magic Wand the lines of the map can be quickly adapted and afterwards the lines can receive their height values. As part of...