Tutorial
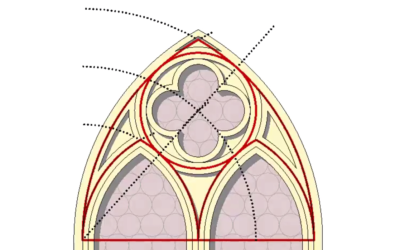
Tutorial I – Gothic Window
Being the starting chapter of the Modeling Tutorial Series this tutorial is about advanced 2D editing using the advantages of special constructing tools like the Guide Lines and Snap Guides. Watch the video with subtitles to be able to fully follow the thinking of...
read more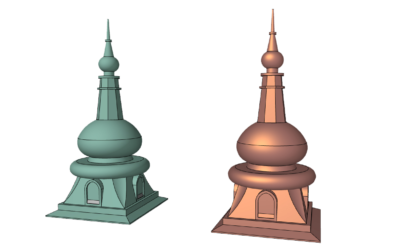
Tutorial II – Baroque Spire
This part of the Modeling Tutorial Series gives an insight to ARCHICAD’s Morph Modeling by combining the different editing methods to build a Baroque Spire in 6 relatively simple steps. Watch the video with subtitles to be able to fully follow the thinking of the...
read more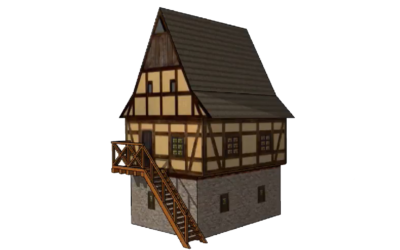
Tutorial III – Textured Houses
Textured Houses tutorial provides the learner with more advanced steps on how to add Morph Surfaces, also repeating some previously used editing methods. The tutorial provides information on how to change already set surfaces and how to make new textures and...
read more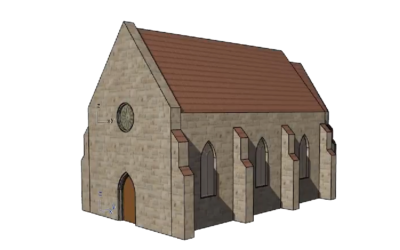
Tutorial IV – Gothic Church
As part of this chapter a new Morph editing option is introduced in details: ‘Solid Element Operations’ is shown as an alternative to Boolean Operations (Tutorial II - Baroque Spire). Watch the video with subtitles to be able to fully follow the thinking of the...
read more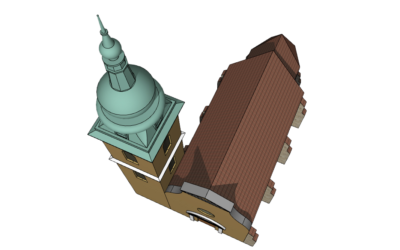
Tutorial V – Baroque Church
This tutorial is the final development of the church as more complex details are added to the already finished tasks explained in former modeling tutorials (Tutorial I - Gothic Window, Tutorial II - Baroque Spire and Tutorial IV - Gothic Church). Main new features...
read more
Tutorial VI – Terrain
The tutorial shows the steps that should be taken in order to build a terrain from the base lines of a topographic map. With the help of the Magic Wand the lines of the map can be quickly adapted and afterwards the lines can receive their height values. As part of...
read more
Tutorial VII – Hotlinked Modules
Using hotlinked modules is an option for working with parallel model files while in the meantime integrating them into a joint project file. This soltuion can also be a way for working in a team, though ARCHICAD also provides much more developed options for this....
read more
Tutorial VIII – Importing to Unity3D
First tutorial of the Coding series gives an insight how to properly export our models from ARCHICAD and import them to Unity3D. A key feature of this process is to achieve a result that keeps all the textures and materials added in our CAD software before. In the...

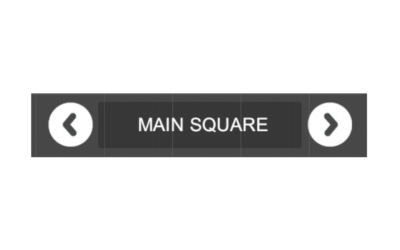
Tutorial IX – Building a Menu
The tutorial shows how to build the graphical part of a menu as a UI (user interface) item. The instructions describe the required geometrical and camera settings for the backgrounds of the text items and the placement of the to-be-interactive buttons. Text...
Tutorial X – Basic Navigation
In this chapter you can find a method how to set up different views for representing different parts of your model, how to mount your Camera to these viewpoints and make it fly between these points in a continuous loop. The Menu built in the previous chapter...
Tutorial XI – Rotations
Independently from the theme of the former tutorial (Tutorial X - Basic Navigation), this part of the Coding Tutorial series introduces a solution for rotations around central point of a single location. The rotation method provides 90 degrees turns in two...
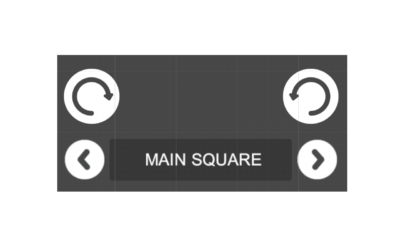
Tutorial XII – Complex Navigation
This tutorial is strongly based on the methods shown in the former two parts of the Coding Tutorial series (Tutorial X - Basic Navigation and Tutorial XI - Rotations), combining the two different types of navigation: the moves between fixed viewpoints and the...
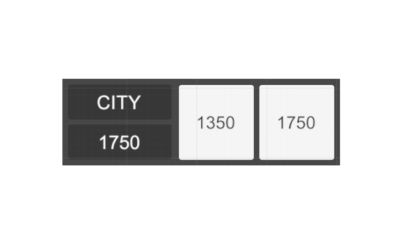
Tutorial XIII – Time Shifts
A key feature of the planned interactive content is shifting between different time periods. This tutorial shows a possible solution to switch between two moments (years) of time, based on the layer structure assembled in ARCHICAD as part of the Modeling...
Tutorial XIV – Infoboxes
Final tutorial of the Coding series delivers a solution that is opposite to the fomer solutions. During former parts of the series the buttons of the UI (user interface) panel started actions on the 3d environment (moves of the Camera and the buildings -...